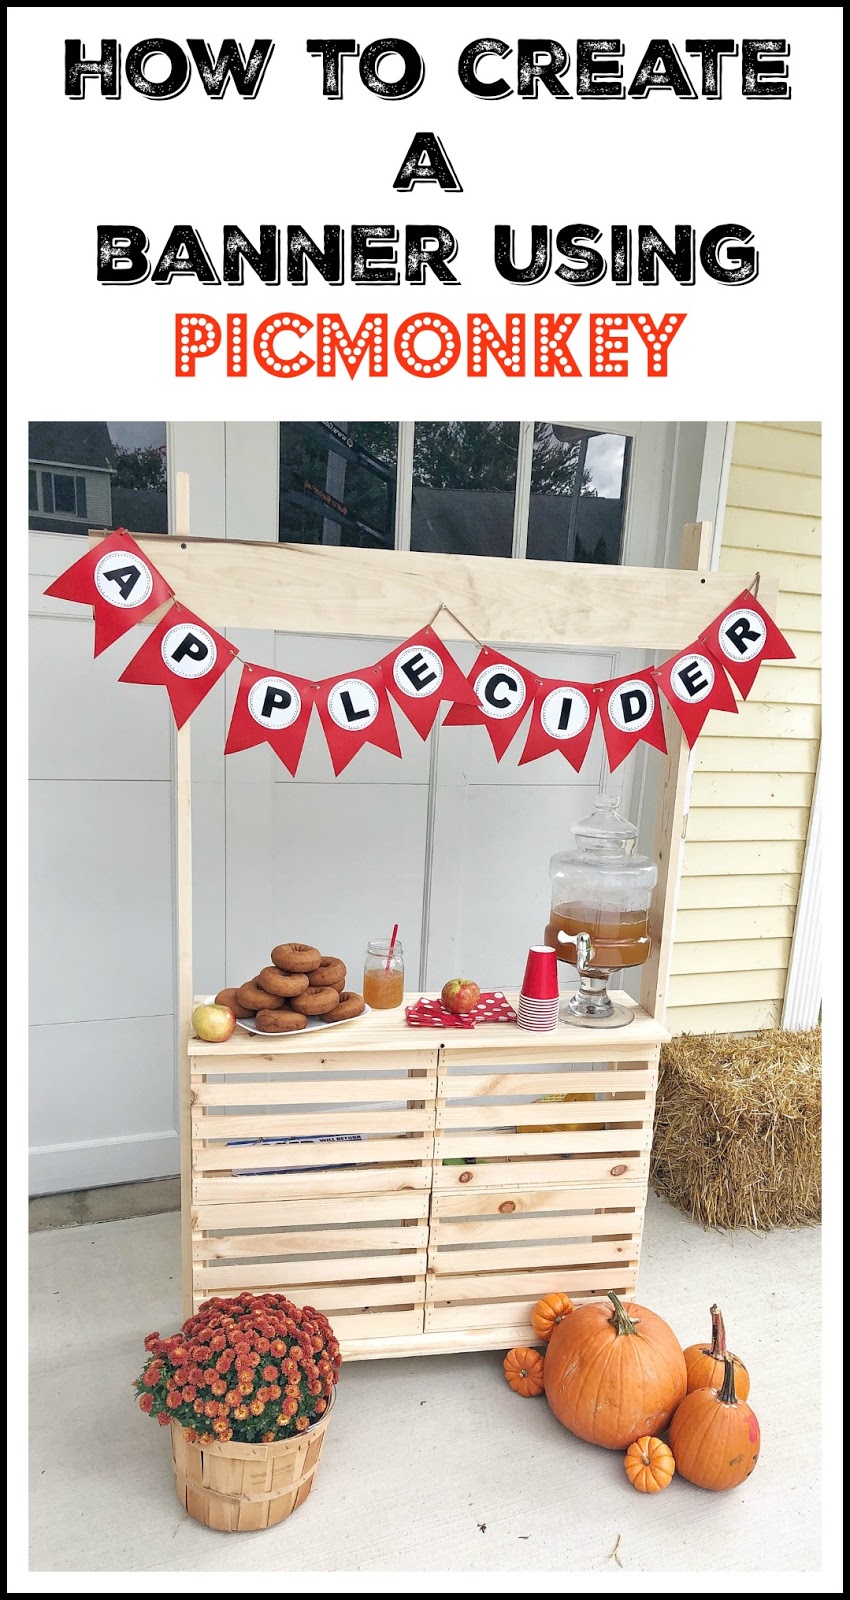
A DIY Banner using PicMonkey
Now, I must admit, I’m a huge banner fan! Whenever I’m at the grocery store, Hobby Lobby, Target – I’m always drawn to banners. They’re a quick decoration for any season or birthday and they’re not messy.
WooHoo!
So, when it came to our apple cider stand, I looked high and low for some sort of “apple cider” banner. To my surprise, I couldn’t find a single one – not even on Esty! I knew our apple cider stand needed some sort of signage and I wasn’t about to bust out any chalkboard paint due to the baby going in my belly, so a banner it was.
Guess what?! Making this banner was quick and affordable!
So why not share a quick tutorial with all of you?!
I use PicMonkey for most of my graphic design needs. It’s free, but if you want access to more fonts/graphics I think you can pay a monthly fee of $5 or so. FYI – this is not a sponsored post, hence why I’m not digging in too deeply into PicMonkey’s pricing. 😉
I’m still using the old PicMonkey, so if you have an account or just started one, switch over to their old ways to follow along with my tutorial.
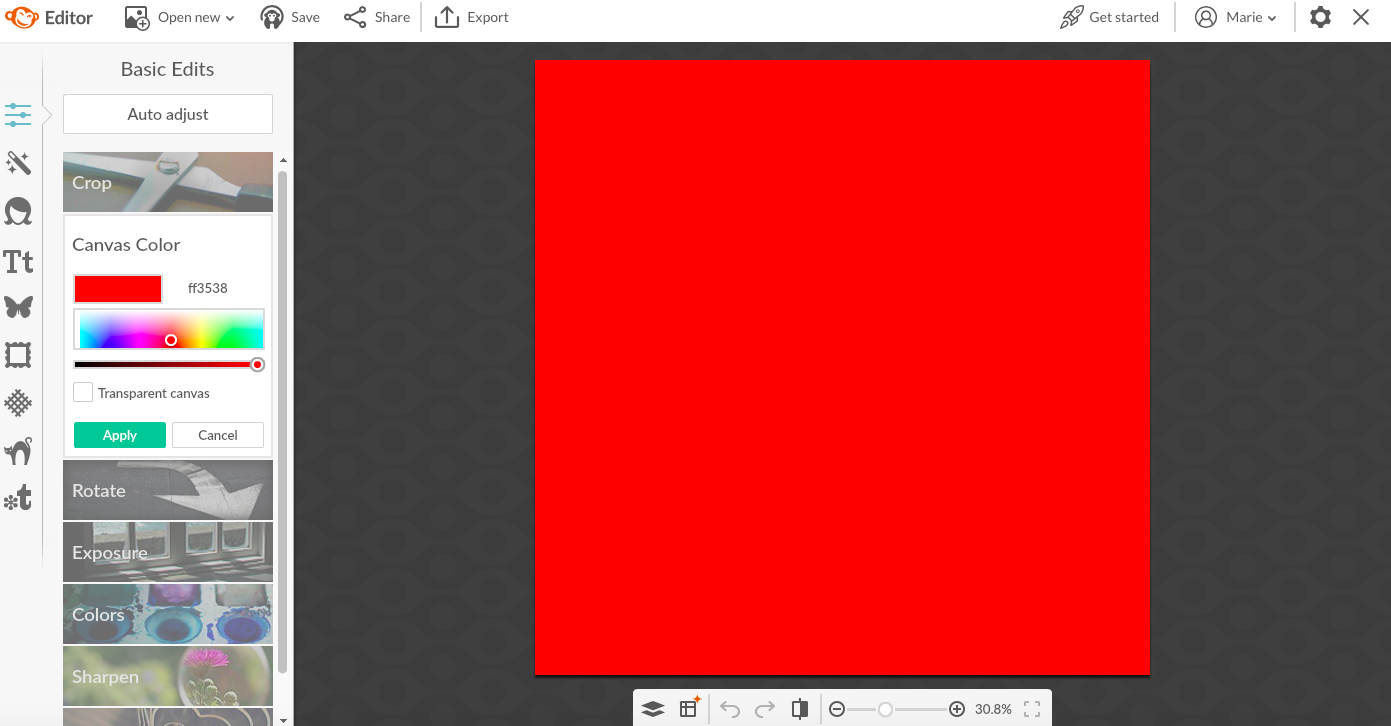
First up. Click Design up there at the top.
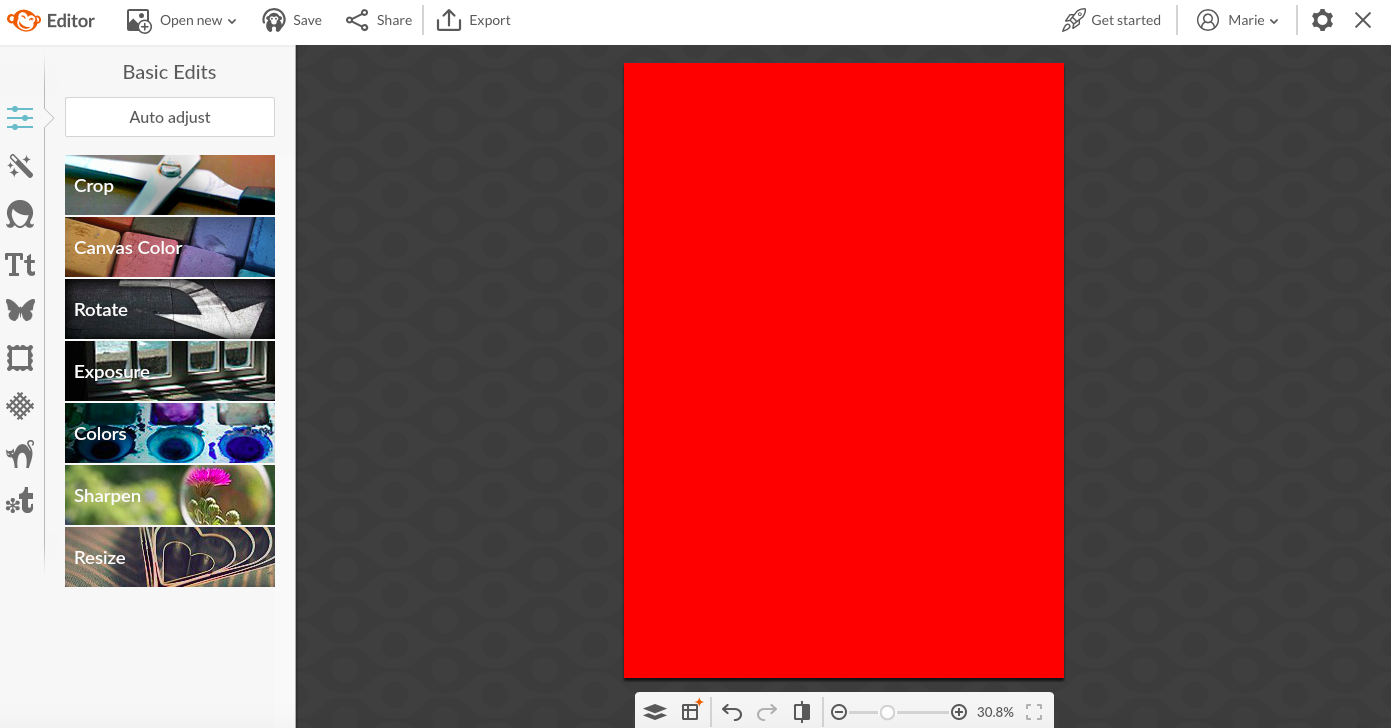
Click on Canvas Color and find your preferred color choice.

Next Crop your design to your desired size. Here I chose 5×7.
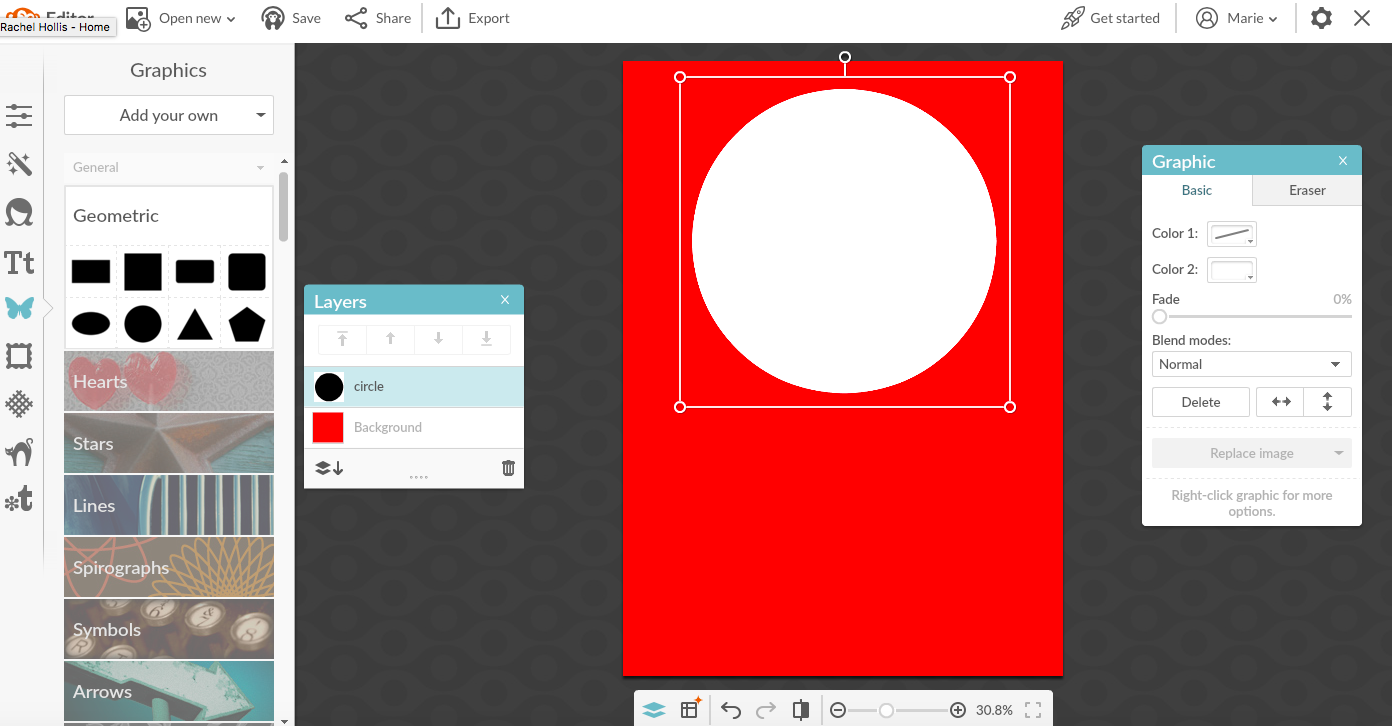
On the left you’ll find a Butterfly Graphic. Click the first group of graphics and select your shape. As you can see, I chose a circle.

I then changed the color of the circle to white by clicking on Color 2 over there on the righthand side.
Next, scroll up to the letter “T” for Text and choose from several available and free fonts. Position it within your shape.

I then went to Doodly Accents.

I picked this cute little “doodly” accent to my circle. There are so many fun options in this section!
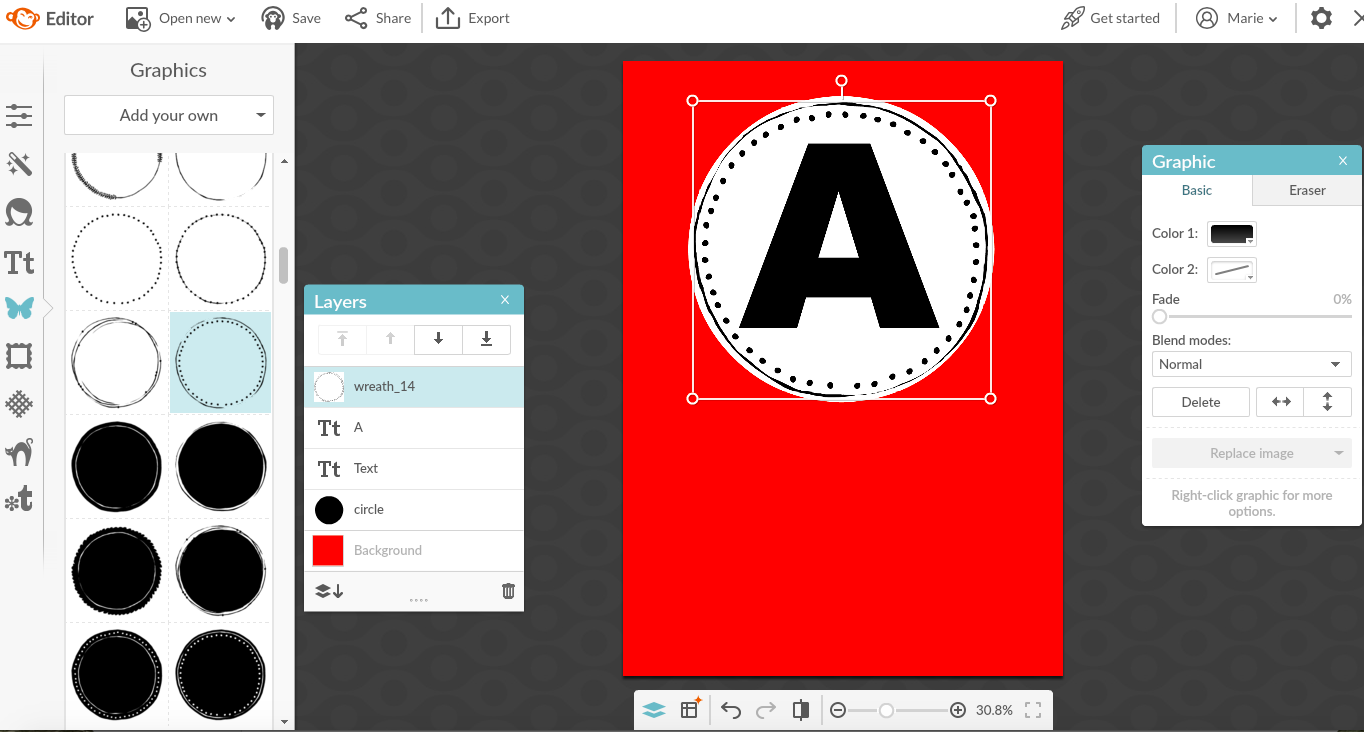
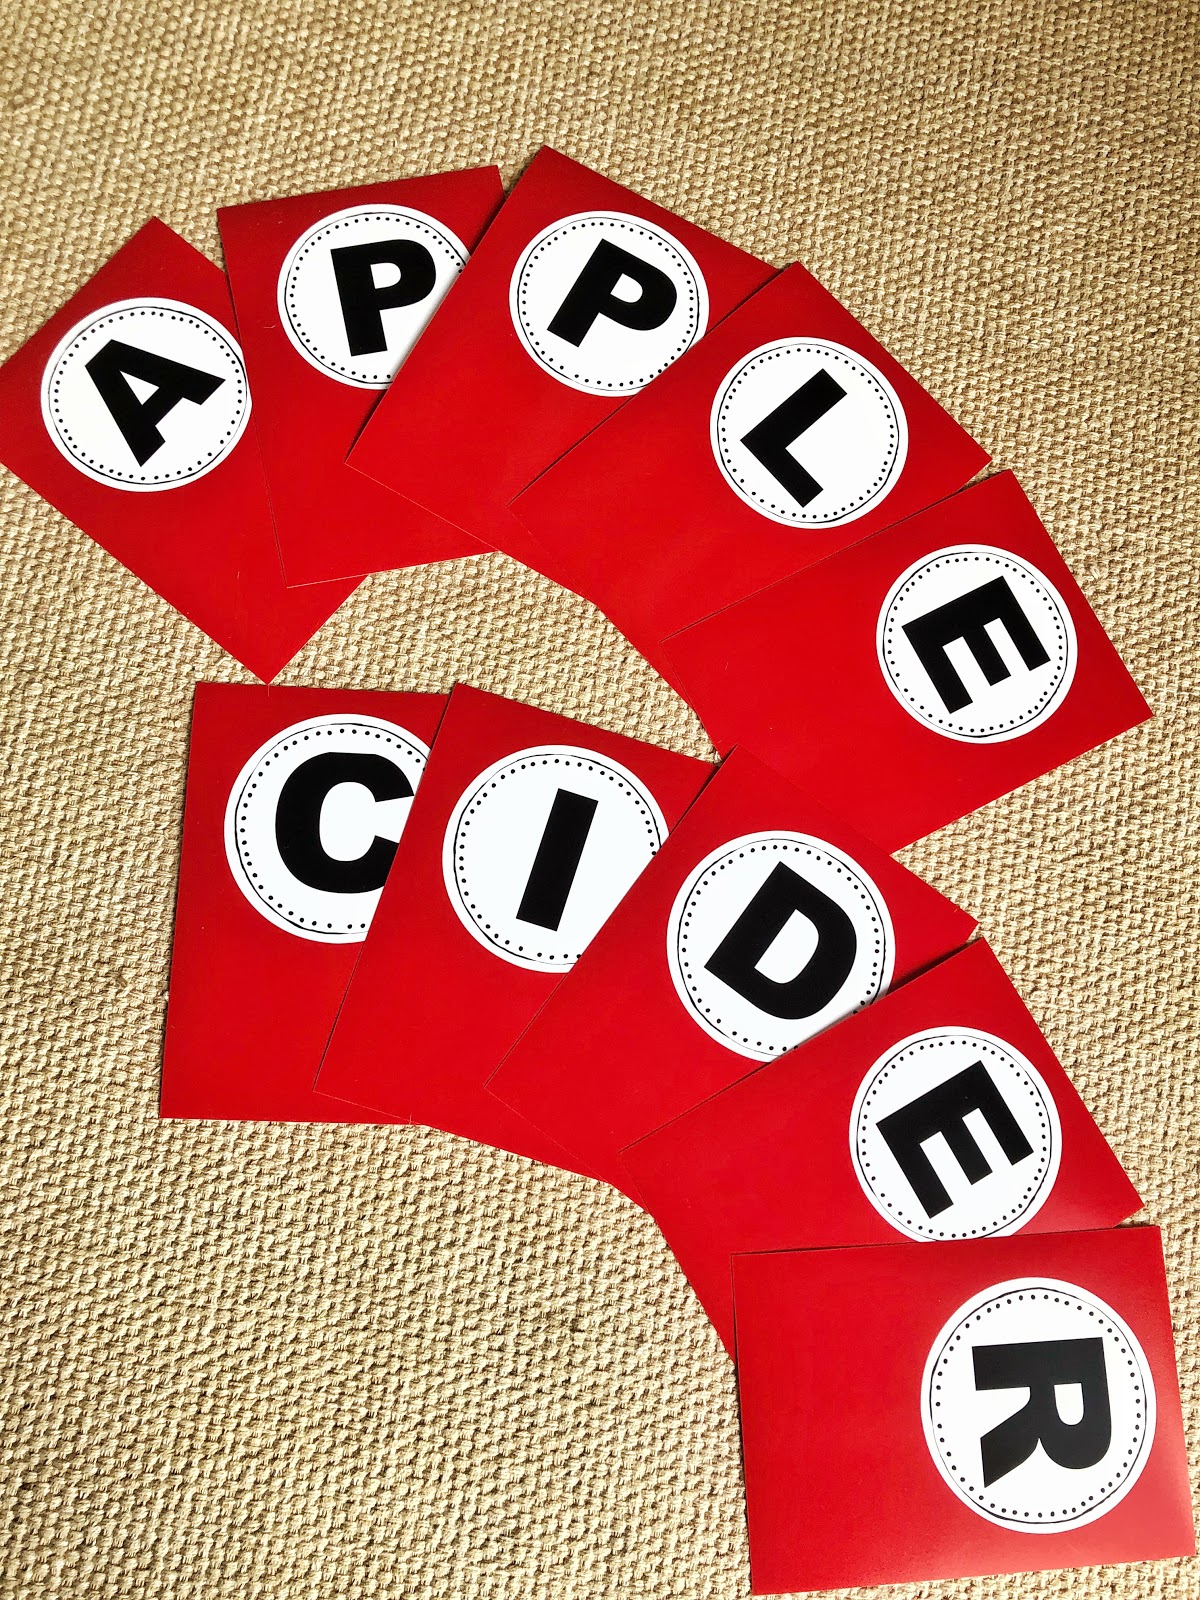
I then saved this design to my computer under “Apple Cider – A.” I immediately went back to my design and changed the letter to, “P,” “L,” “E,” etc… and saved then under file names, “Apple Cider – P,” “Apple Cider – L,” “Apple Cider E…”
Once all letters were designed I had two choices, print from home or send to a printer at my local grocery store. I chose the latter. I printed all the letters as 5×7 matte photos and made sure to print two of the letter “P” and two of the letter “E.”
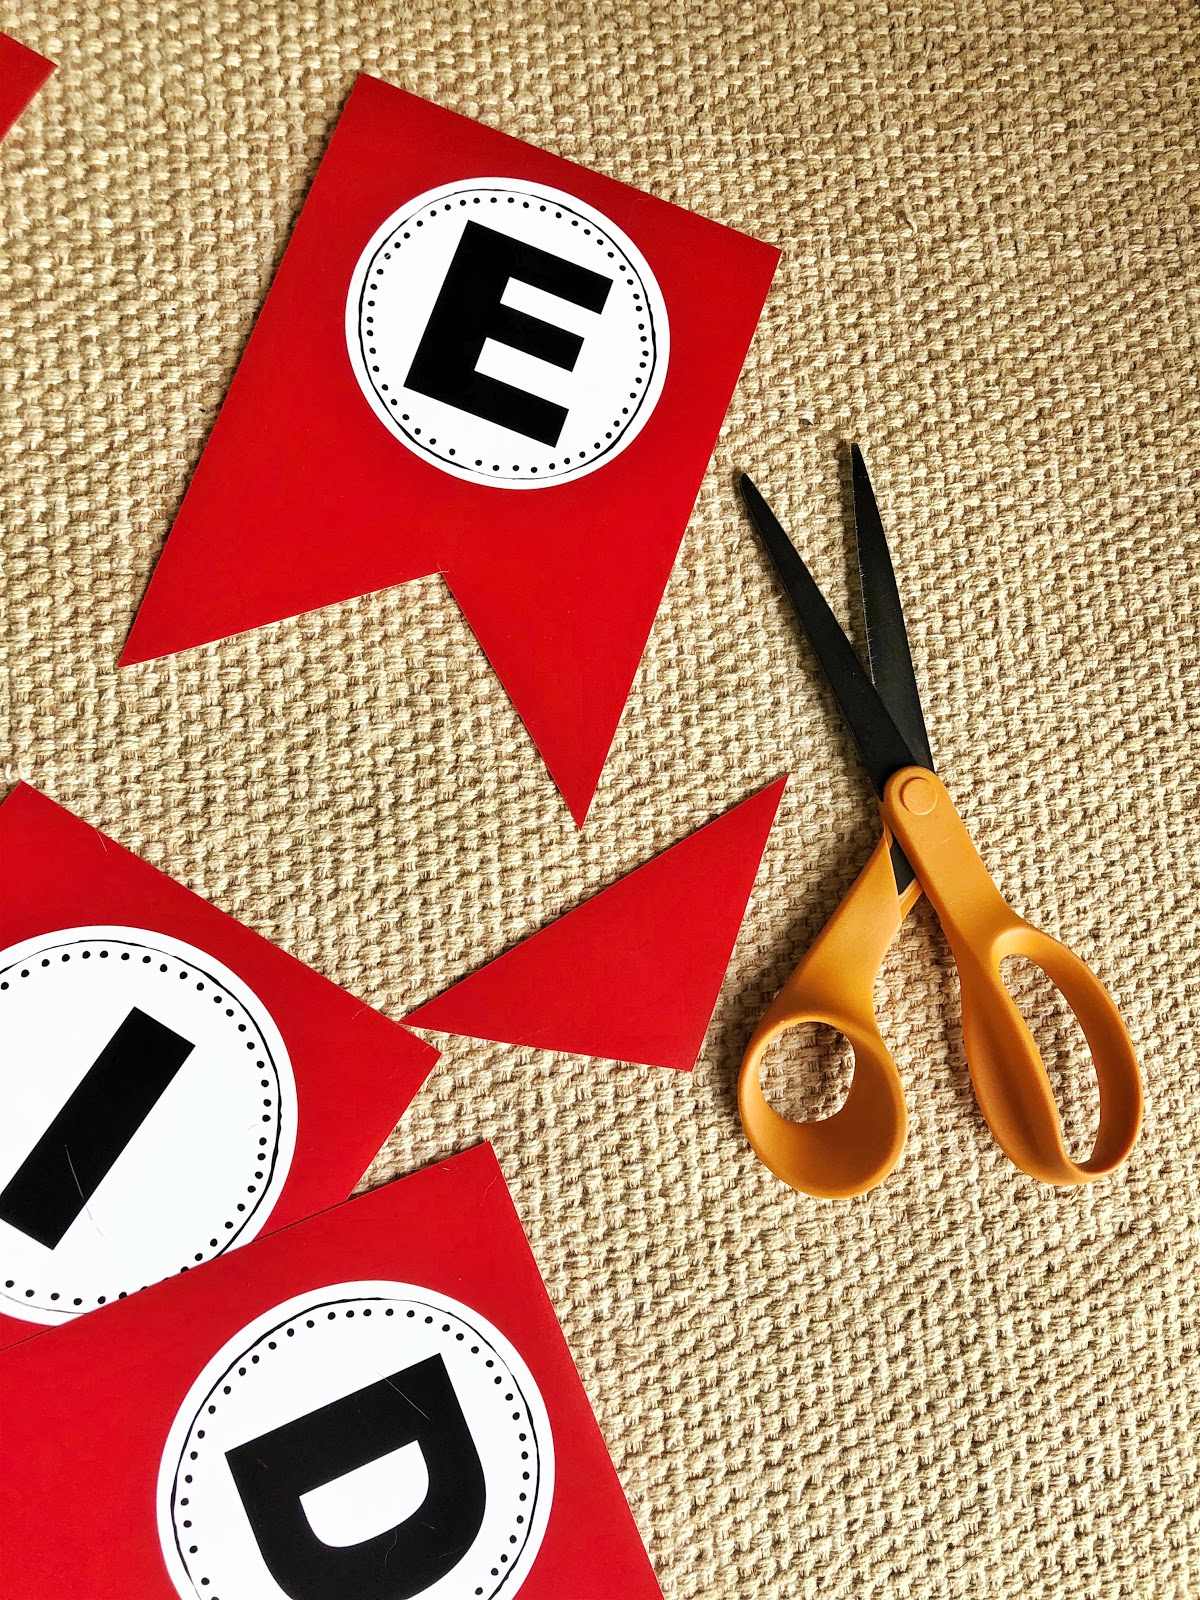
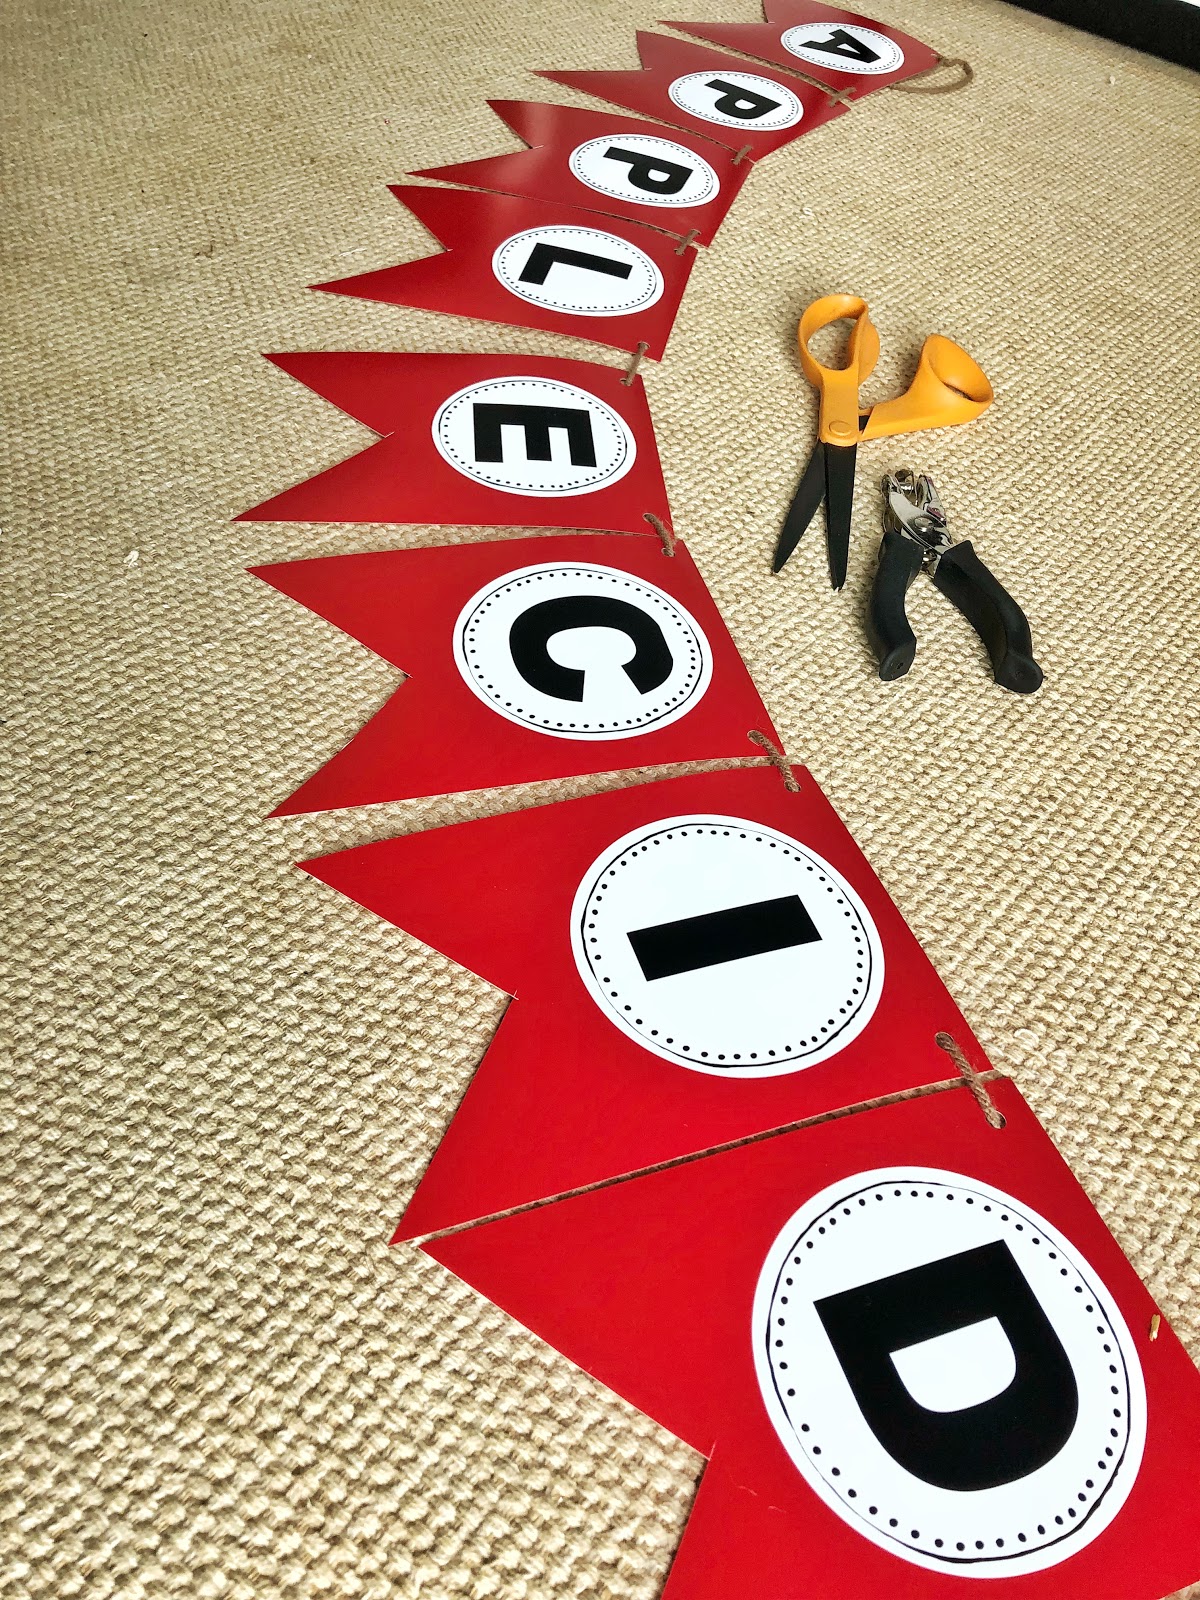
I eyeballed it and started to cut! Haha! Technical, I know. 😉

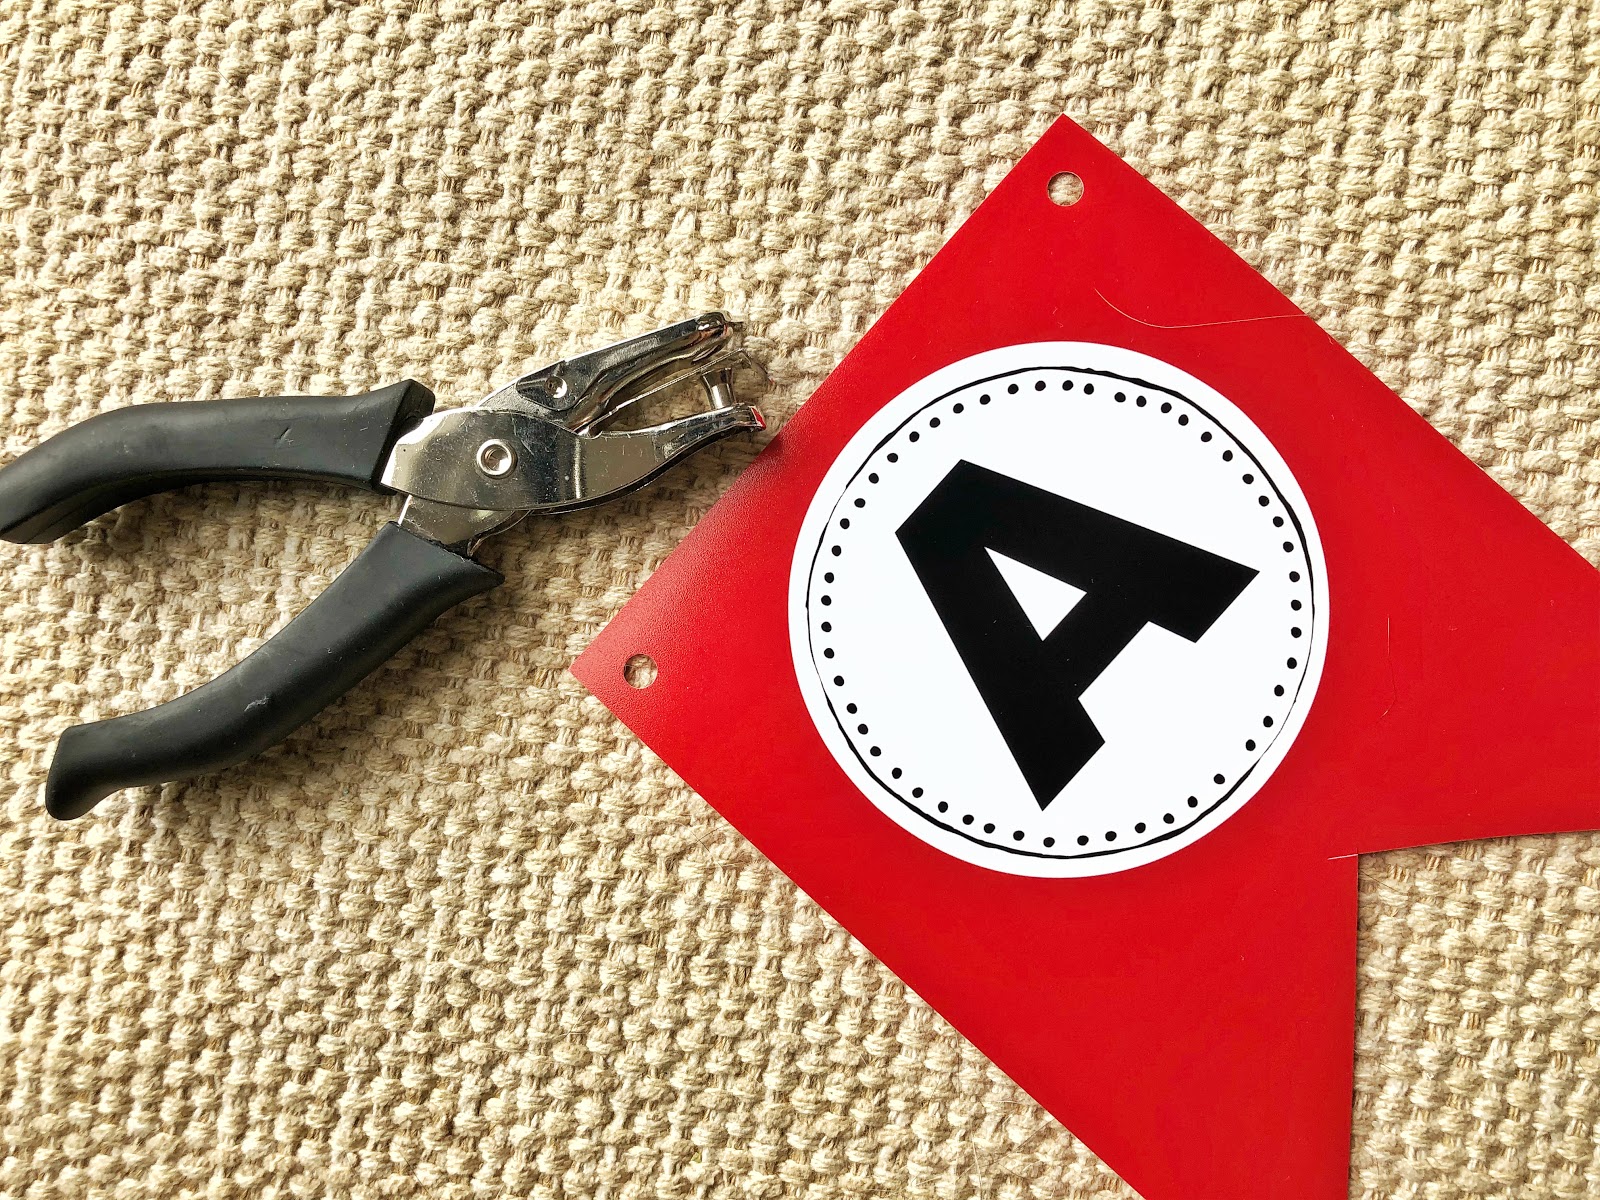
Then hole punched…
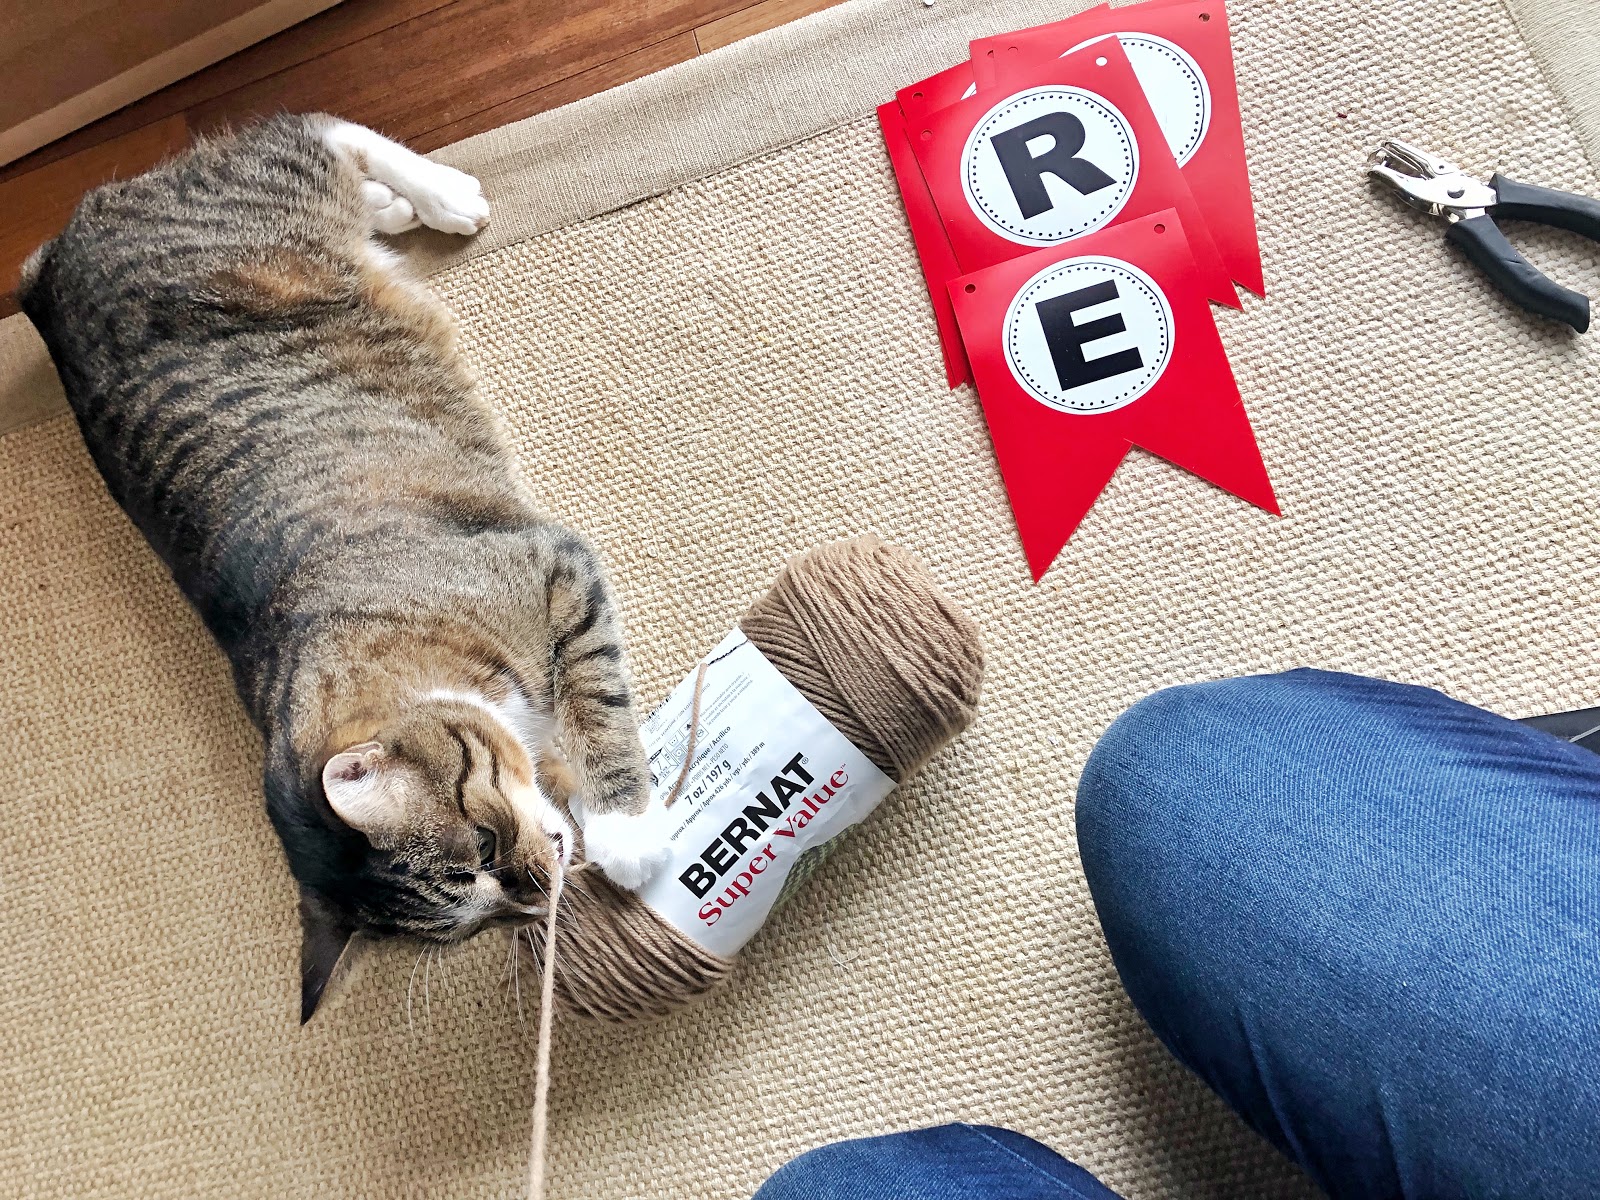
…and facepalmed myself for thinking Nubs wouldn’t get in the way. Kitty would’ve played with this yarn all day. He thought it was a game as assembled the banner. LOL!
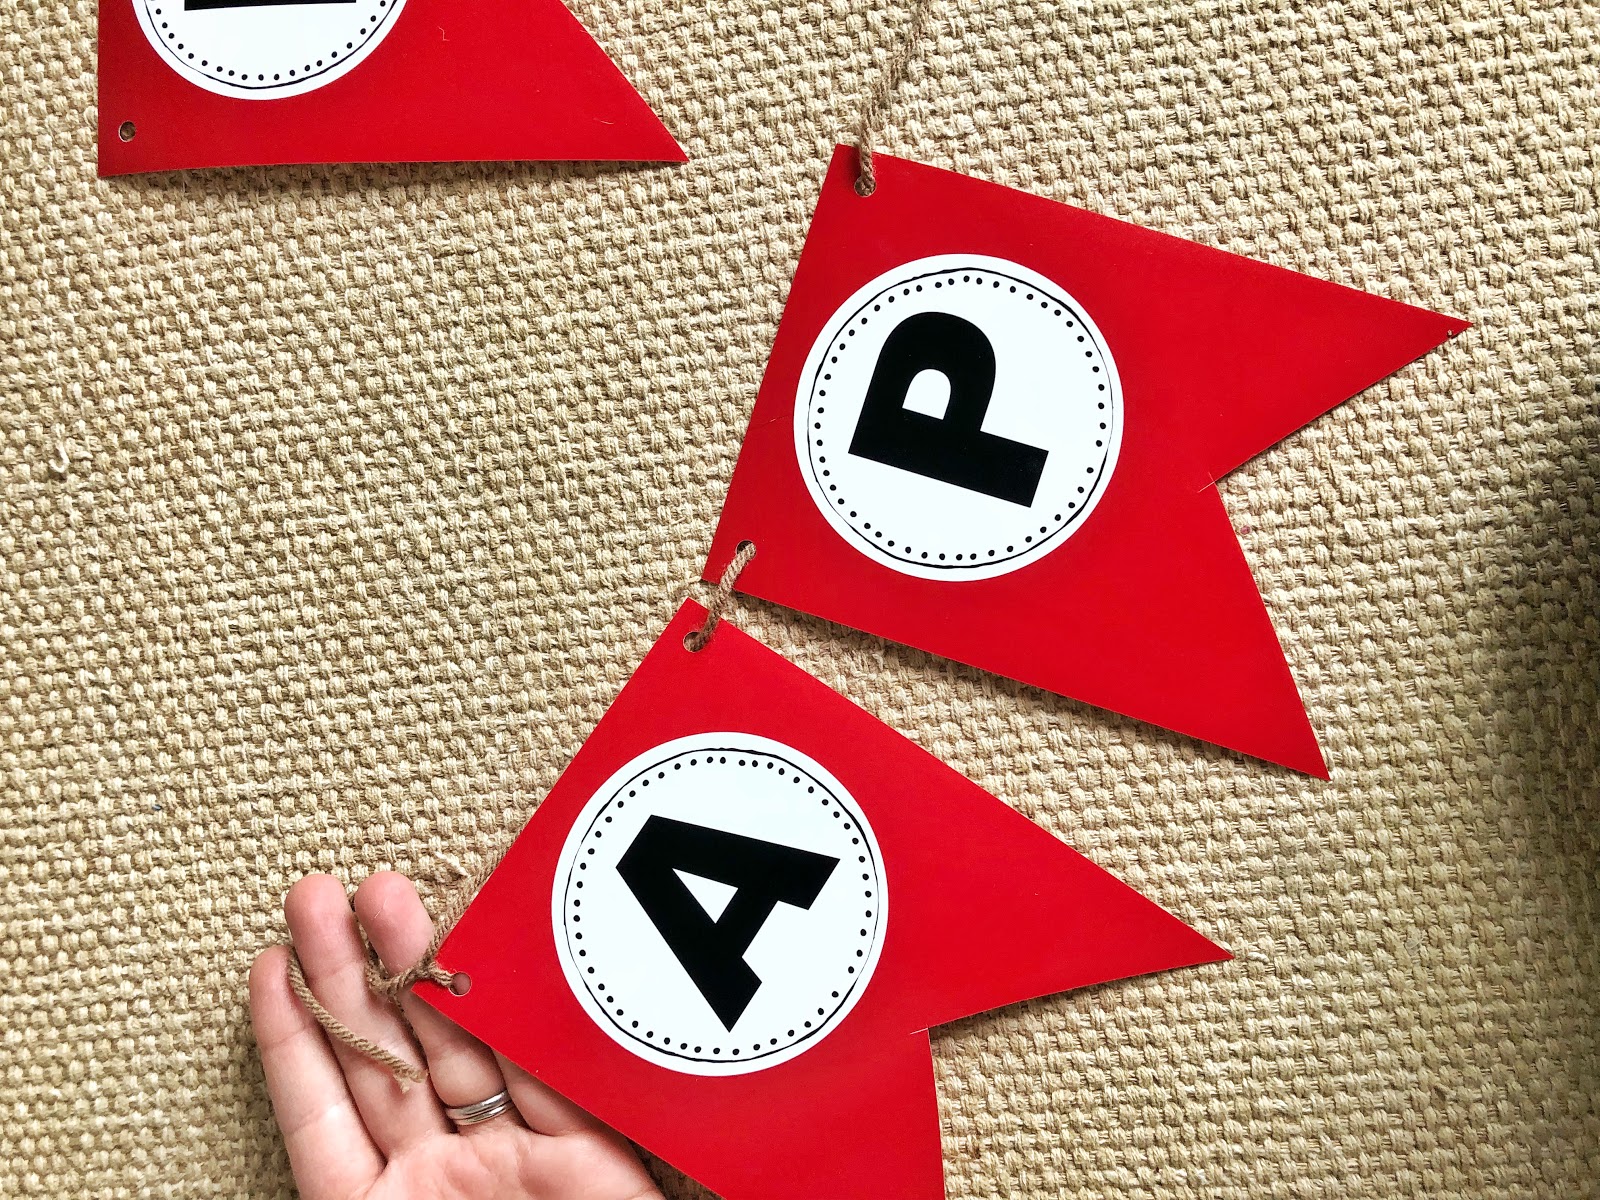
I tied a knot at the start of my banner and did the same at the other end.
Done!
Look at that! Our very own “apple cider” banner!!! The possibilities are endless, you guys! I need to start thinking up some banner ideas for the kids’ bedroom for Christmas and New Year’s!
Let me know if you end up making any banners of your own! I’d love to see what you come up with!
Thanks for stopping by!
I’m linking up over at Welcome Wednesday!